 |
Smith Brothers Services, LLC |
 |
||||
| PLOW PARTS |
|
FABRICATION |
|
|||
|
|
Smith Brothers Services, LLC |
|
||||
| PLOW PARTS |
|
FABRICATION |
|
|||
Added 1-13-23
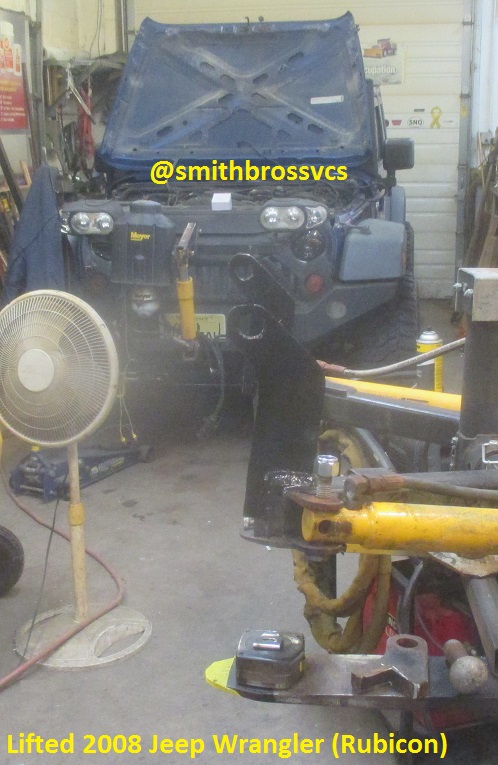
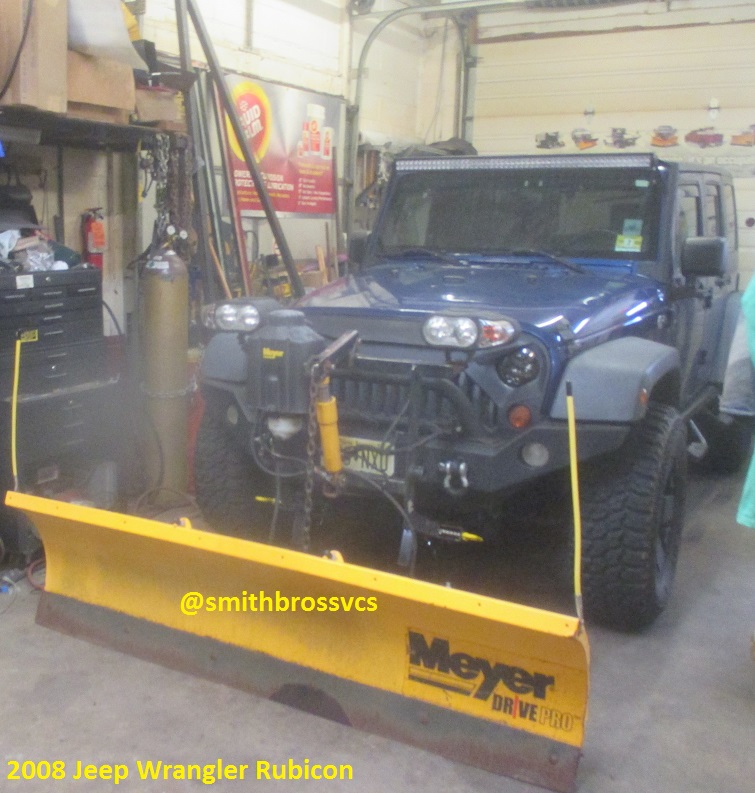
Lifted 2008 Jeep Wrangler JK Meyer Drive Pro 6' 8" Install
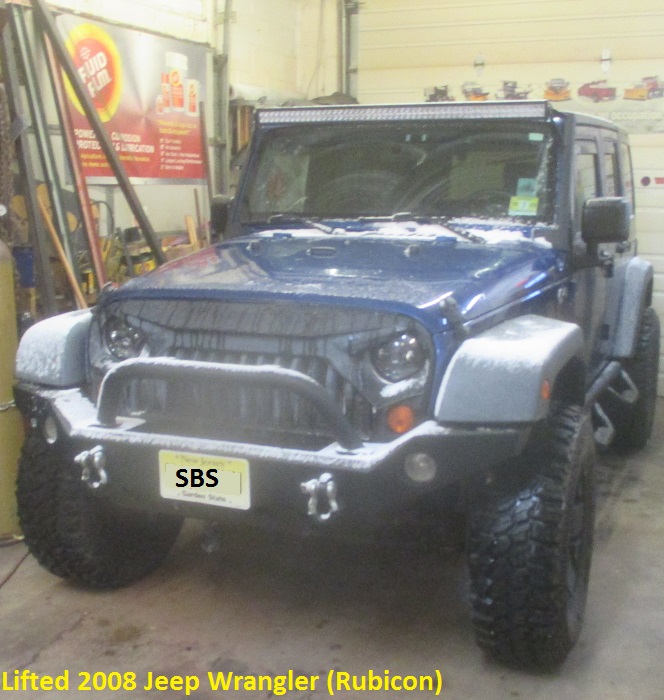
This customer came with a used plow in good condition, and all the necessary parts to install except a couple. I did not know how lifted it was, as I found out after it was scheduled. I did not have a 1/2 ton clevis here for the install, and could definitely not get one in time. Since this Jeep is lifted, and definitely sees off road use, I installed the Drive Pro Clevis the customer brought, for more ground clearance. I was going to have to make ears anyway, may as well make 4" taller ears rather than 2" taller and a 1/2 ton Clevis. My price is the same for 2" ears or 4" ears, both work. The mounting brackets were notched to fit an aftermarket bumper (or Anniversary Edition, or Rubicon) and it was perfect for this aftermarket bumper too. I guess this is an "Unlimited" but it has the sway bar disconnect, and other features that became "Rubicon", so I say (Rubicon).
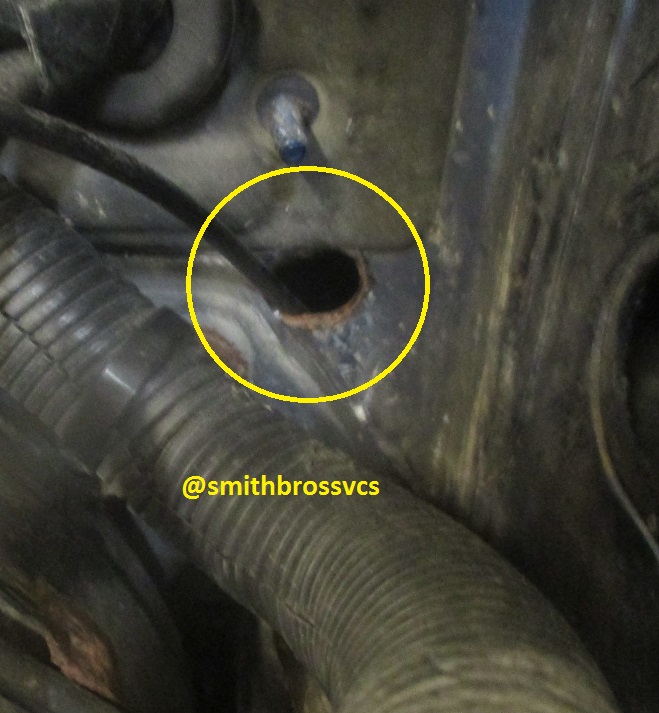
Manual transmission in this Jeep, so the usual hole I use for passing through the firewall is taken by the clutch. There was an existing hole where there was an LED wire going into the cab. There was enough room I could put a large flat head screwdriver in there to protect the wire while I made the hole MUCH larger with the burr and die grinder.
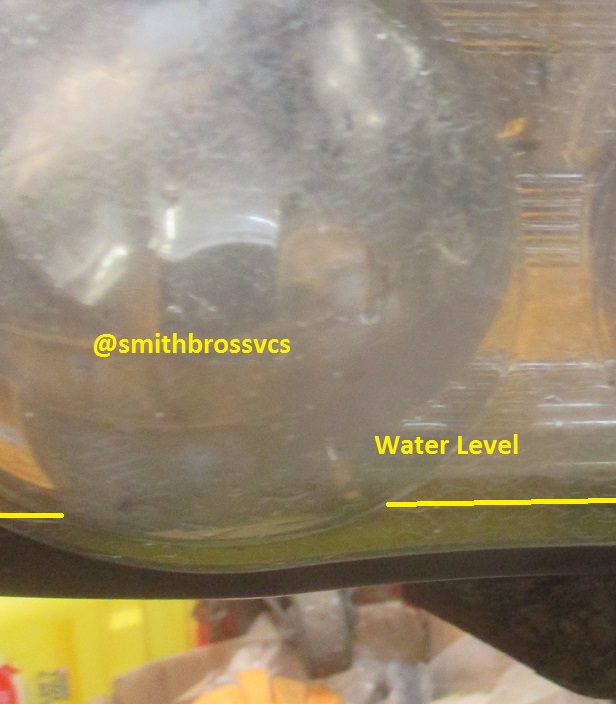

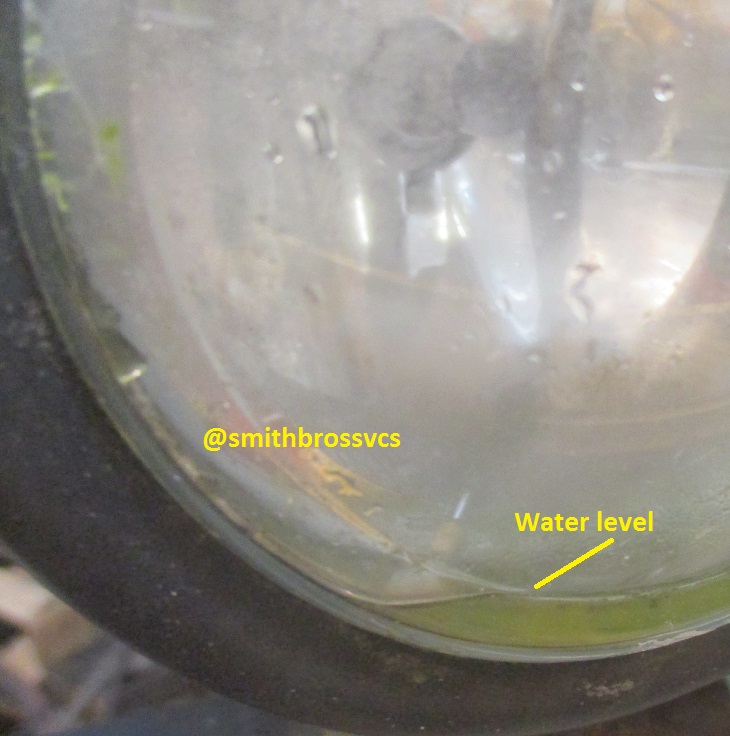
For whatever reason this plow was stored with the crankstand up as far as it would go. That makes the lights lean forward. The drain holes are in the center, bottom of the lights. Leaning forward, they can fill with water, and even grow algea like these did. I had to dissassemble, remove, rinse out with bleach and water to kill the algea, then put on a milk crate in front of a little heater for a couple of hours to dry out. Then reassemble. In the end, all the bulbs needed to be replaced.
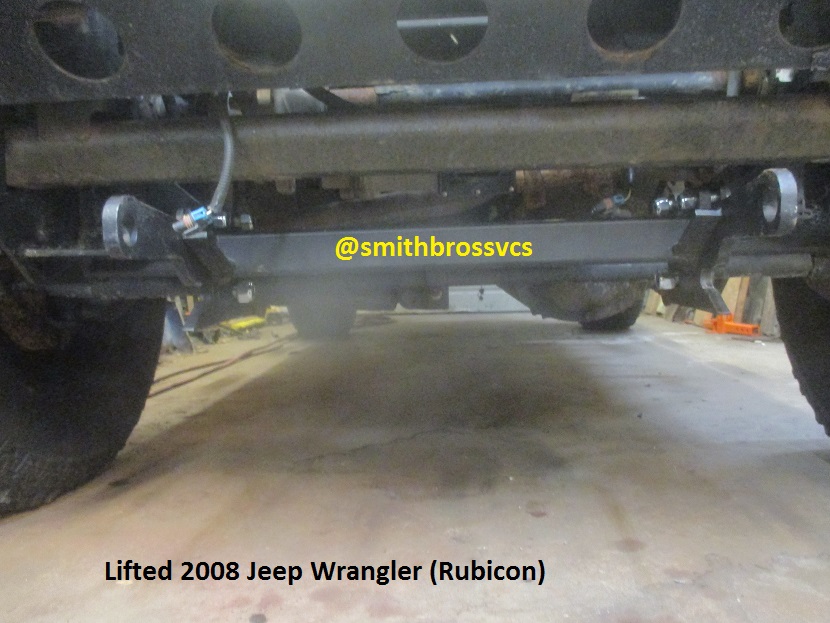
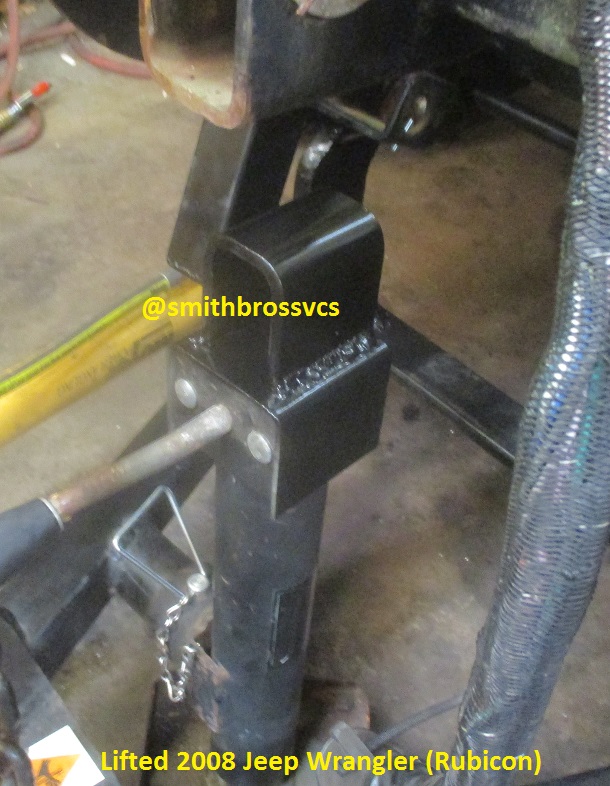
Drive Pro mount installed. Clevis nice and high.
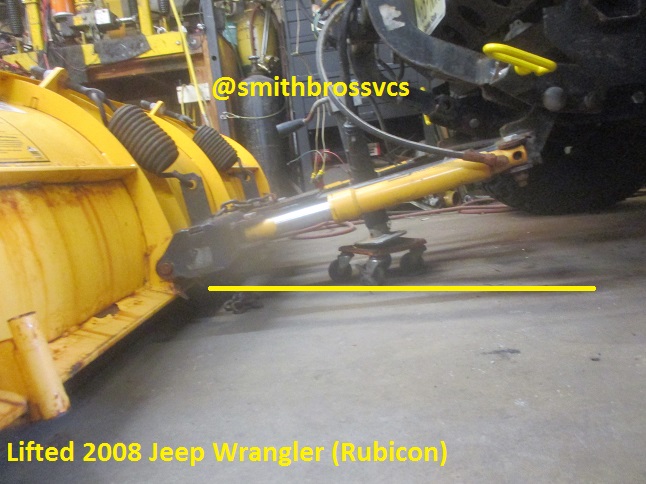
Test fit to see how tall the ears will need to be.
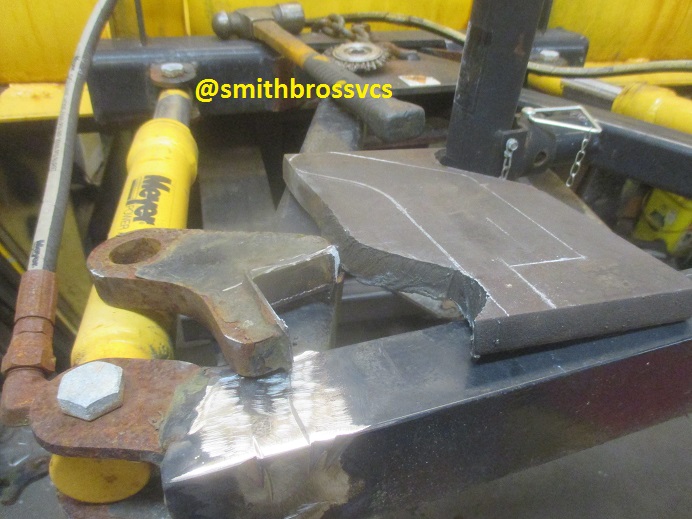
In this case, about 4" taller. Drawn out on 3/4" plate ready to plasma out. Original ears removed.
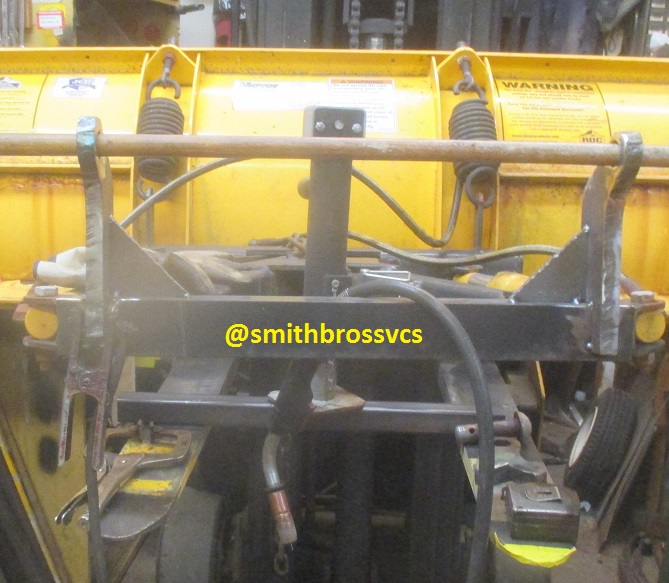
Ears and 1/4" gussets all tacked in place. I put a broomstick through to check alignment.
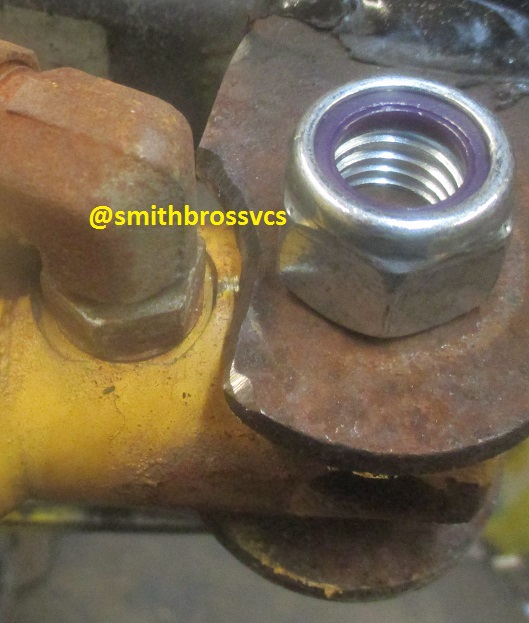
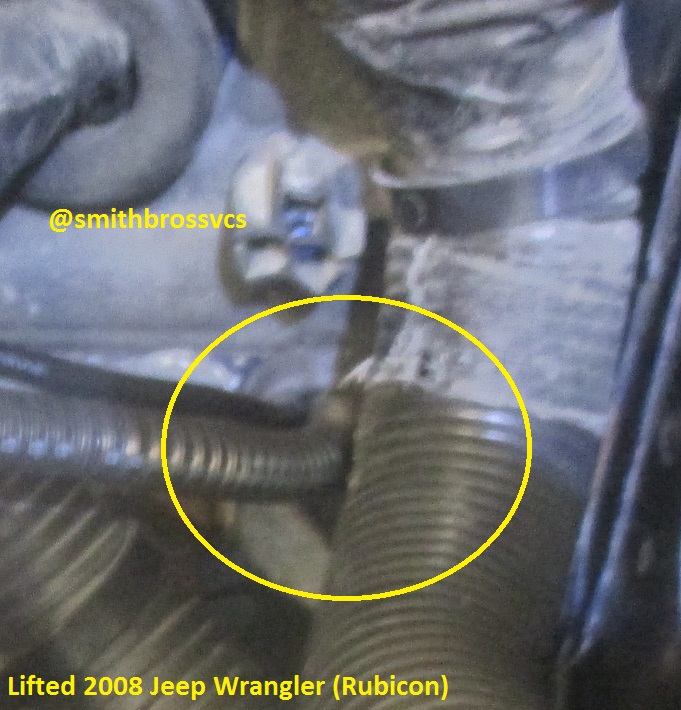
Turning the PA Rams up is a good idea anyway, but I thought I could gain some hose length on the passenger side, but not enough, and had to use a hose longer than I liked (22922) which is 44". The little notch is ground out for fitting clearance. Turned the bolts up too, they will be the lowest point when the plow is raised.
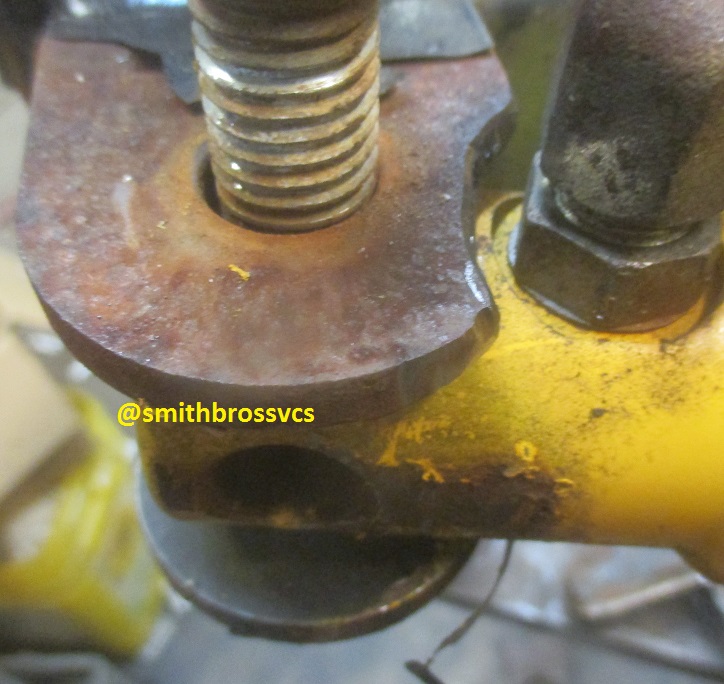
Other side.
Watching paint dry...
First test fit with new ears.

Never thought to tag the EZ Plus conversions beyond using the MDII Yellow PIns instead of the Blue.
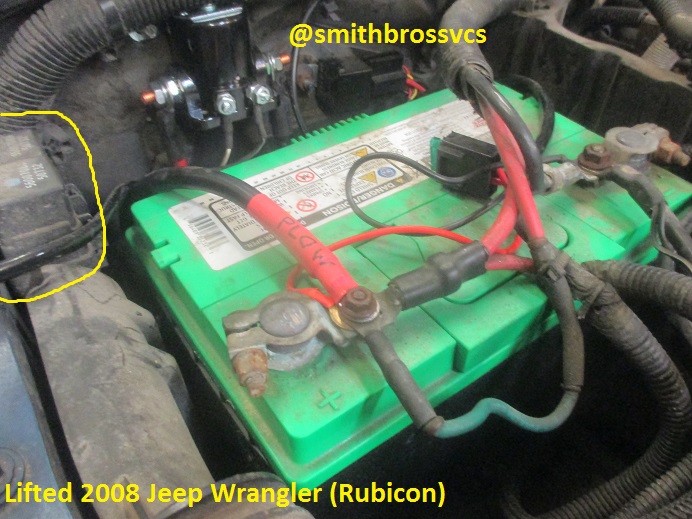
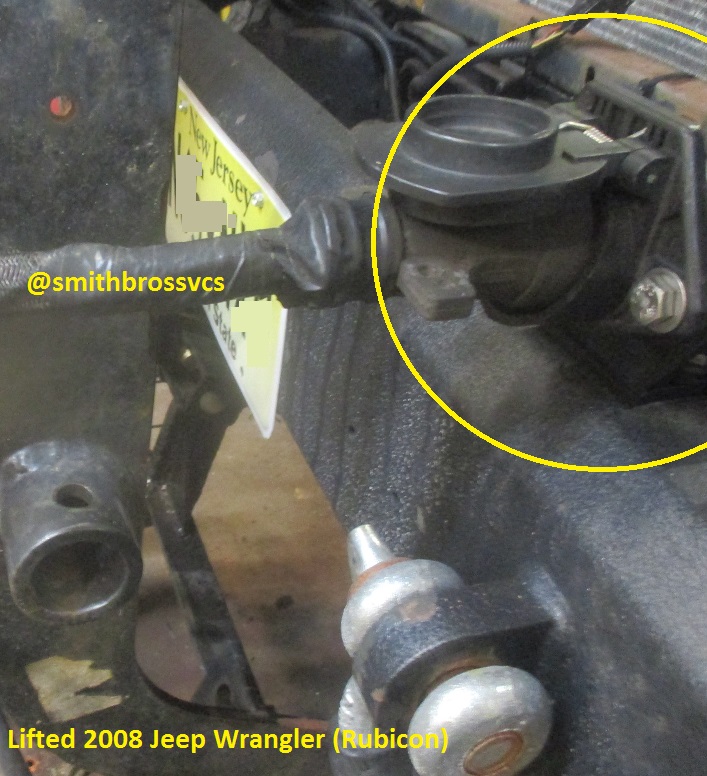
Battery connection and Motor Solenoid mounting. I typically mount it to the left, where I circled the factory relays taking that spot. There is already a hole in the body there, so no drilling paint.

Wiring time.
This is what connections look like after 7 years with no dielectric grease. You can clean the connection surfaces, but if the green got down inside, yo uare repalcing wiring. I always put the dielectric grease on the silicone boot too. I have had them come back for a plow move 10 years later and they look like day 1.
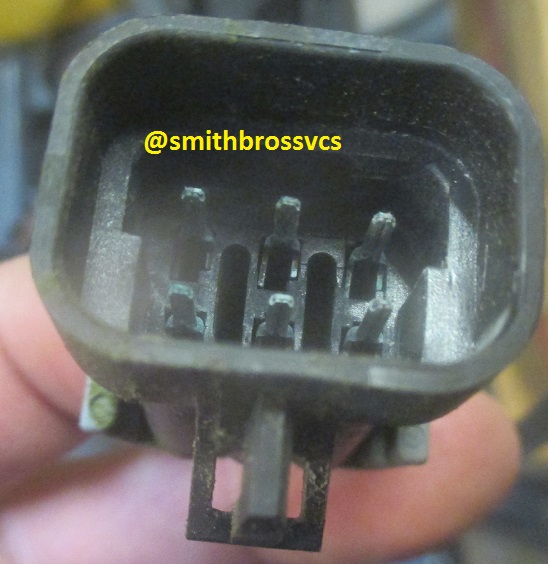
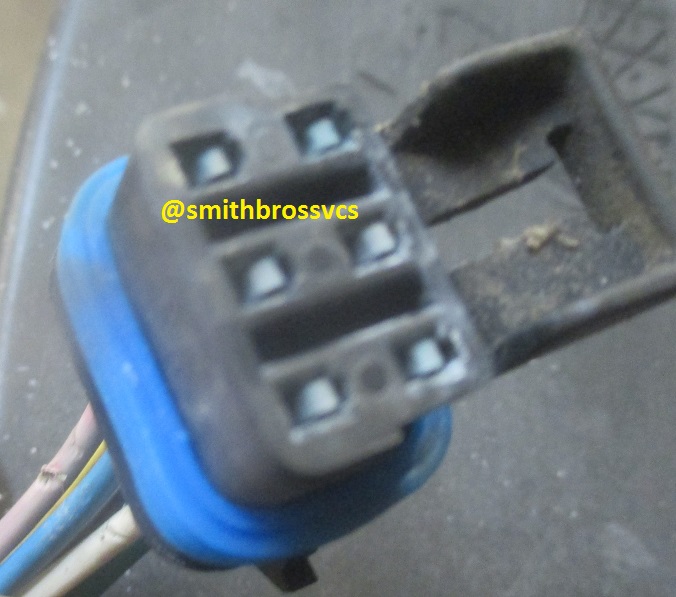
Other half. This actually ended up being a problem. I wasted way too much time trying to get the lights working properly. Connected correctly, I was getting 10v at the passenger side plow low beam, and the module was buzzing away. I also had the same 10v on the common wire. Modules typically buzz when there is a bad module ground. The module ground was 100% good, and the vehicle headlights worked properly, so that ground was good as well. Not a good answer, but it had to be a problem with the 1 piece plug end, the main 22691S harness, or the 22692 plow side harness. In the interest of saving time and money, during troubleshooting, I found if I disconnect the Module C from the 22691S, and plugged the light directly into it, they worked perfectly. This was after repalcing BOTH Module C Harnesses. I ate up 4 ours troubleshooting the lights. What I did not realize is the battery was dying. I can honestly say I have been lucky as I never had a battery die during troubleshoting before. Shame on me for not catching it sooner. I found 11.4v during testing where I expected around 13v.
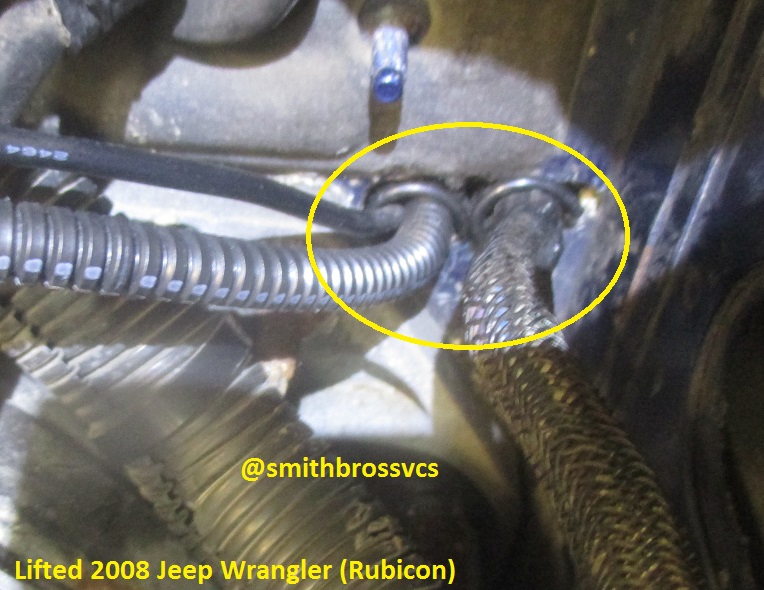
Details. Grommets on both wires.
Grommets sealed, vehicle wiring put back in place.
Crankstand modification. Can easily be moved to a new Crankstand.
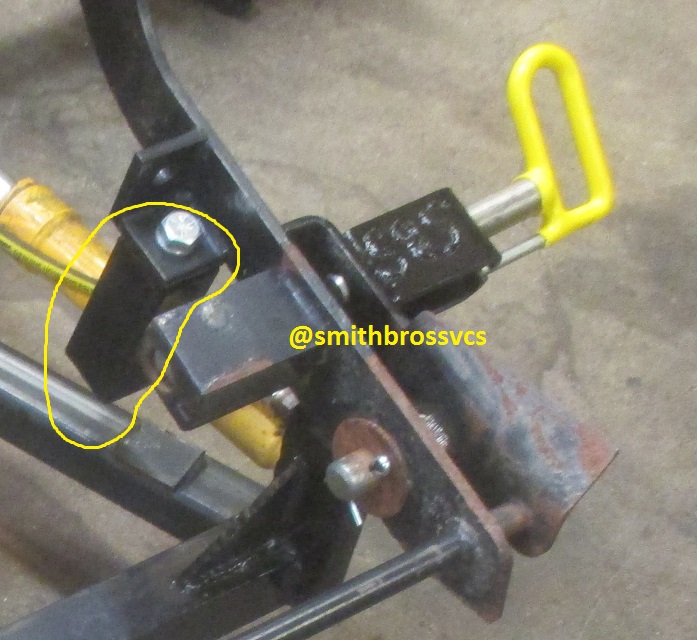
Stop extension made from 1/8" wall 2" x 2" box. The top end is 1/4" plate with a 5/8-11 Nut welded inside. The bottom is sealed up with 11ga. Can easily be removed. I used to cut the pin bracket off the inside and move it to the outside to make EZ Plus, but it is faster and easier to just add a new one.
1 Piece Plug mounted with stainless hardware.

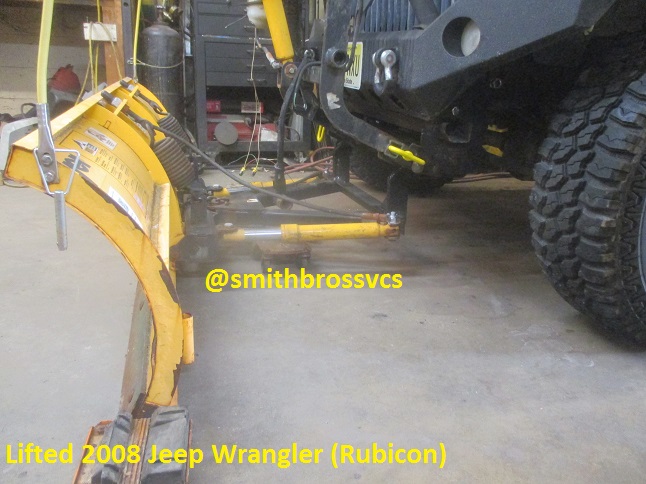
Ready to plow.
Here is a 2007 Lifted Jeep Wrangler JK I did as well.
NEW - May 2017 - THREE Lifted Jeep Wrangler TJ Meyer Drive Pro 6' 8" Plow Installs
|
|
Smith Brothers Services, LLC |
 |
| |
Entire site Copyright 2006 - 2023 Smith Brothers Services, LLC All Rights Reserved
Our Other Sites:
Snowplowing-Contractors.com
ChucksChevyTruckPages.com
SmithBrothersPlowParts.com
SmithBrothersServices.com
MeyerPlowHelp.com MeyerST.com
Home-Plow-By-Meyer.com MeyerE-57.com
MeyerE-60.com
MeyerDrivePro.com
MeyerPlows.info MeyerLotPro.com
MeyerE-47.com
MeyerE-72.com MeyerE-68.com MeyerSOS.com MeyerE-73.com
Smith
Brothers Services on
YouTube